About the DocuSign channel
DocuSign allows organizations to upload and send documents for electronic signature, select envelope templates, fill the merge fields based on the selection and send them for signing.
Please note that terms used in the DocuSign channel categories are DocuSign specific terminology.
How to connect
-
On the My pipelines page, click Create pipelines. Enter name, description, and tag fields and click the Create Pipelines button. The pipelines wizard displays:

- From the wizard you choose the connections for the first steps of your pipeline. When you choose a type, you'll add the channels and steps for your first steps. You can always add more steps later. A Triggered pipeline is started by a specific event in real-time. A Scheduled pipeline will start according to a schedule. A Manual pipeline only starts manually. Once you've completed the wizard, you'll be prompted for connection detail, if necessary. If you are an experienced builder, click the Start from scratch button and then from the right side of the page, choose the All to list all available channels.
- Expand DocuSign in the list of channels on the right side of the page and click Connect.
-
In the pop-up window, click Connect.
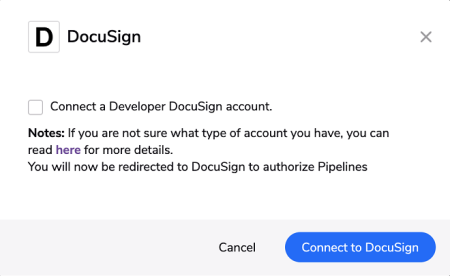
Note: You may be offered to connect with a developer account. Developer (sometimes called Demo) accounts are not used for sending binding contracts, but to test new and existing features. In most cases you should leave the option unchecked. For more information check Account Types -
Enter your email and click Continue, then enter your password and click Log in.
-
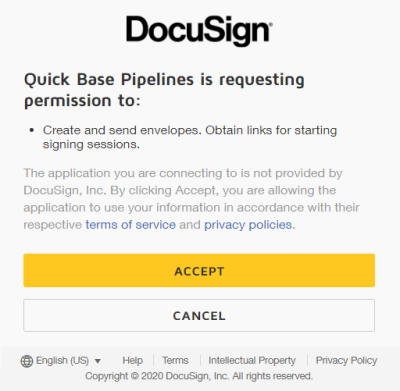
Finally, click Accept to allow Pipelines to connect to your DocuSign account.
How to reconnect the DocuSign channel
You may need to reconnect your account to a channel. Reasons may be (but not limited to):
-
If you need to connect a different account.
-
Authorization updates, such as a changed password.
-
Editing the access rights that Pipelines has to the channel.
To reconnect:
- Select a pipeline that already has DocuSign in it.
- Open a step containing DocuSign.
- Under account, select Connect (or reconnect) and follow the process above, How to connect.

Steps
The steps you can use with DocuSign fall into two categories: Envelopes and Envelope Statuses.
| Type | Name | Description |
|---|---|---|
| Envelopes | ||
| Action | Upload a Document and Request Signatures |
Request signatures on a single document from one or more recipients. For more complex scenarios such as requesting multiple signatures on multiple documents, you can use the Send an Envelope for Signatures using a Template step. |
| Action | Upload and Request a Signature |
Requests a signature on a single document with a single recipient. For more complex scenarios you can use the Send an Envelope for Signatures using a Template step. |
| Action | Send an Envelope for Signatures using a Template |
Requests envelope signatures using a template you have already created using the DocuSign My Templates web interface UI. |
| Action | Request a Signature from Template |
Requests a signature using a template you have already set up in the DocuSign My Templates web interface. |
| Action | Fetch a Linked Envelope |
Fetches a linked envelope. |
| Action | Update Envelope | Updates envelope status
|
| Query | List Envelope's Documents |
Use this step to query envelope's documents, download them or retrieve document's metadata. |
| Action | Look Up Envelope |
Looks up for an envelope based on search criteria (by id). |
| Envelope Statuses | ||
| Trigger | Envelope Status Change |
Triggers when one of the following events is detected on an envelope: Sent, Delivered, Completed, Declined, and Voided. Not all intermediate events are sent by Docusign, so it is possible, for example, that an envelope with a single signer gets only the Completed event, without getting Signed status beforehand. Note: This trigger relies on DocuSign Connect functionality, which is not available in all DocuSign subscription plans. To use DocuSign Connect, it must be enabled in your DocuSign account. It is not enabled by default. |
| Trigger | Envelope Completed |
Triggers when an envelope is marked completed which means all signers signed the envelope's documents. Note: This trigger relies on DocuSign Connect functionality, which is not available in all DocuSign subscription plans. To use DocuSign Connect, it must be enabled in your DocuSign account. It is not enabled by default. |
| Trigger | Envelope Voided |
Triggers when an envelope is voided. You can check the void reason (field) for more details. Note:This trigger relies on DocuSign Connect functionality, which is not available in all DocuSign subscription plans. To use DocuSign Connect, it must be enabled in your DocuSign account. It is not enabled by default. |
|
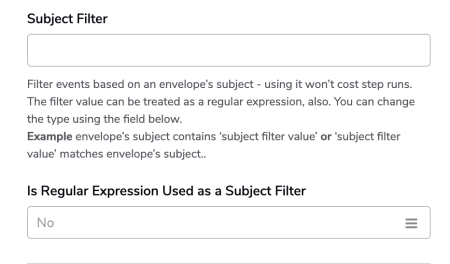
The triggers in this category have settings that can be used to filter incoming events by envelope subject. The filter value can be treated as a regular expression or as text, which should be withing the envelope subject.
|
||
Envelope Documents
We have couple of options to access the envelope's documents:
Option 1
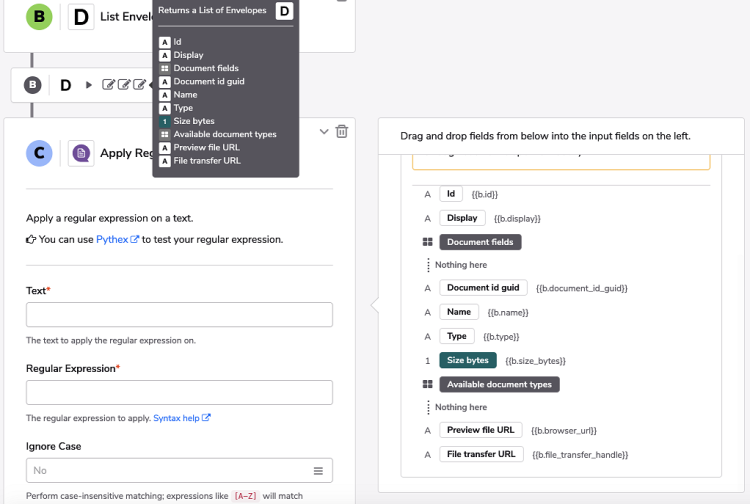
Knowing the envelope id, we can use the List Envelope's Documents step to iterate over each document attached to it.
Useful fields returned within the document record are:
- name - The document's file name. Example: Q1-Report.docx
- browser_url - Preview file in a browser (Authentication required)
- file_transfer_handle - File URL used for internal transfer between different steps
- document_fields - An object containing information about the custom fields on the document
Option 2
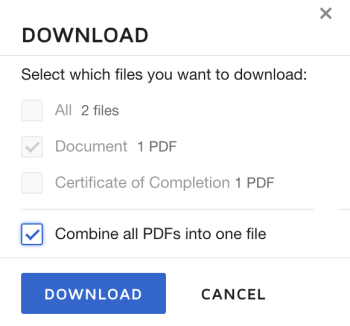
The other option is to fetch all the documents combined in one PDF file. To be able to do this you need to have already looked up an envelope in a previous step and use documents_combined_transfer_handle field as a Source URL for upload steps from Box, Dropbox, etc. channel. This functionality is coming from Docusign:
Notes: Please keep in mind that you can download an envelope's documents at any time, but the documents may not be signed yet. If you are only interested in downloading signed documents, then create a pipeline starting with the Envelope Completed trigger and then use the documents_combined_transfer_handle field or List Envelope's Documents step in combination with the file_transfer_handle field to fetch the signed documents.
Docusign Templates (Design) + Pipelines (Automate) = Fire and Forget
- Create an envelope template. (Docusign)
Using the DocuSign My Templates web interface, click on NEW to prepare your envelope template and then create a name and description on the next window.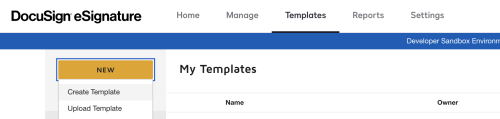
- Upload Documents. (Docusign)
Upload documents which should be signed and/or enriched with merging fields.
- Define roles and a signing process/order. (DocuSign)
Define your signing process and roles responsible for that (signing order can be defined too).
Notes: it is important to define your recipients' roles, the recipient name and email fields can be left empty and filled later via Pipelines.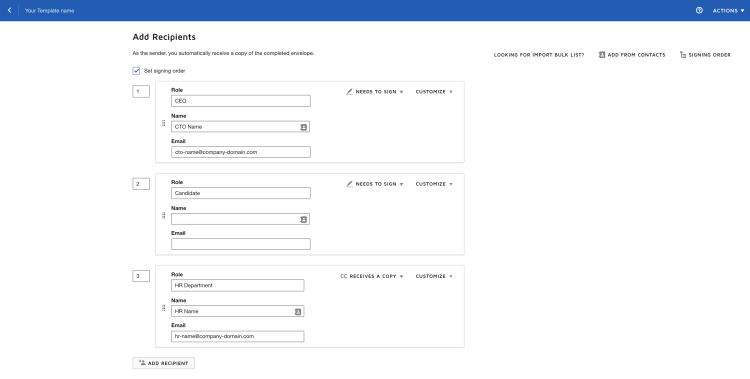
- Set email details - subject and message. (DocuSign)
Email Subjectcan be used for additional filtration, without losing step runs, check for more details the trigger steps.Email SubjectandEmail Messagecan be changed or replaced later via Pipelines.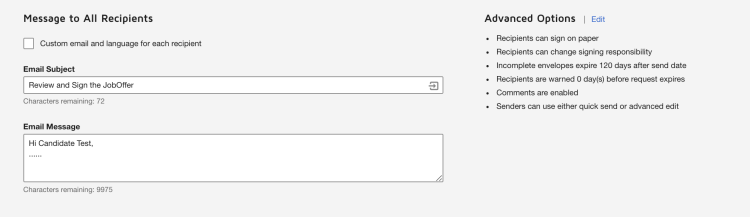
- Add merging fields and signatures on the document's pages. (Docusign)
- Select your recipient's fields and drag-and-drop those which should be filled in by the particular recipient. The fields can be populated later via Pipelines.
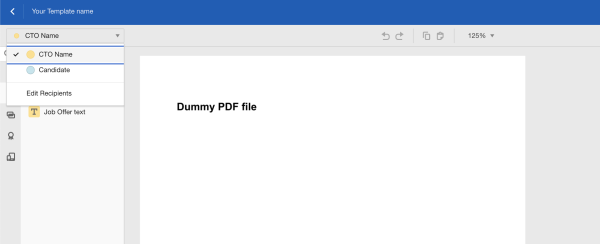
- Select the fields you need and put them within the document pages.
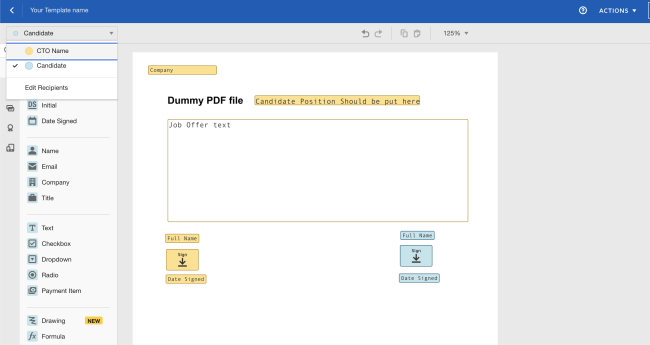
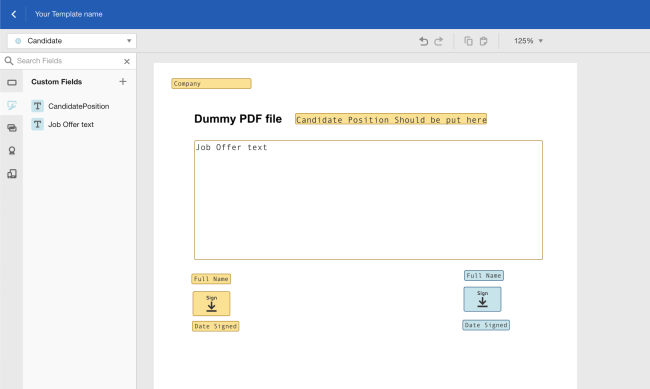
Note: Only fields created as a merge field will be shown and fillable via Pipelines.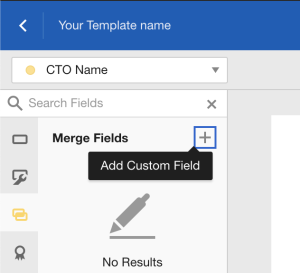
- Select your recipient's fields and drag-and-drop those which should be filled in by the particular recipient. The fields can be populated later via Pipelines.
- Save and close. (Docusign)

- Go to Pipelines and automate the process. (Pipelines)
UsingSend and Envelope for Signatures using a Templatestep we can automate the usage of the newly created template.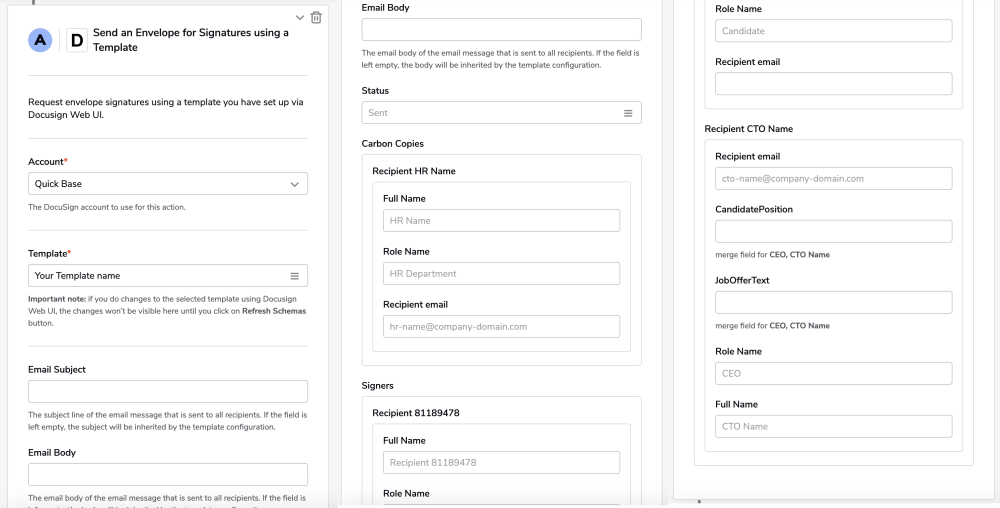
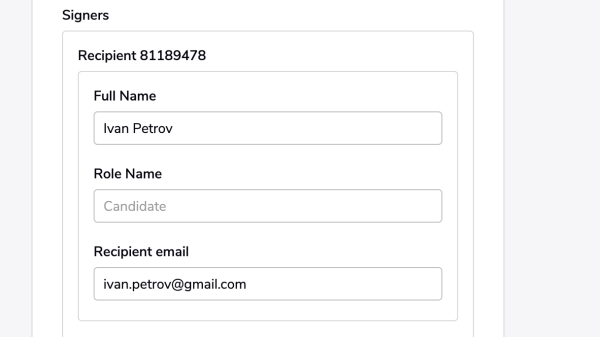
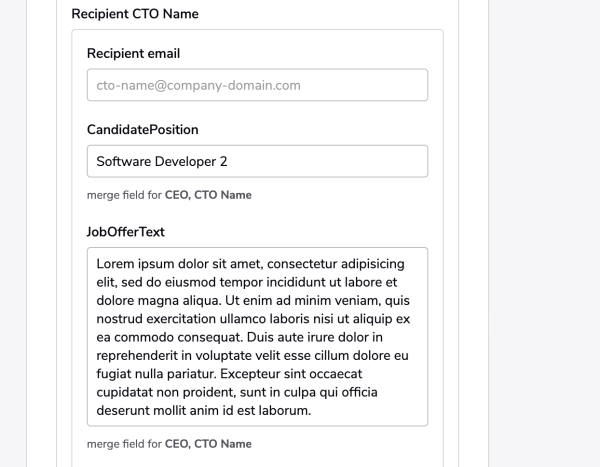
- Fill the merge fields and recipient's details. (Pipelines)
- Schedule or trigger the pipeline. (Pipelines)
You can now schedule the pipeline for example, at the end of the month, to send the employee's paycheck. You also can have the pipeline you just created activate with a trigger as your first step. An enabled pipeline will wait until a confirmation email from a candidate is received. Once that happens the pipeline will trigger the Job Offer procedure (for example) and send all the necessary documents to all the signers for signing.