About the Formstack Forms channel
Formstack Forms allows you to collect information, capture leads, process payments, and more with versatile online forms that can be completed anywhere.
Please note that terms used in the Formstack channel categories are Formstack specific terminology.
Before you connect:
-
Before you connect to Formstack Forms you should have organization account to successfully enter the channel.
-
Make sure when creating your account you have set an account subdomain URL. You can create it or update it (if you already have one) when you click on your profile → URLs

How to connect
-
On the My pipelines page, click Create pipelines. Enter name, description, and tag fields and click the Create Pipelines button. The pipelines wizard displays:

- From the wizard you choose the connections for the first steps of your pipeline. When you choose a type, you'll add the channels and steps for your first steps. You can always add more steps later. A Triggered pipeline is started by a specific event in real-time. A Scheduled pipeline will start according to a schedule. A Manual pipeline only starts manually. Once you've completed the wizard, you'll be prompted for connection detail, if necessary. If you are an experienced builder, click the Start from scratch button and then from the right side of the page, choose the All to list all available channels.
- Expand Formstack Form in the list of channels on the right side of the page and click Connect to Formstack Forms.
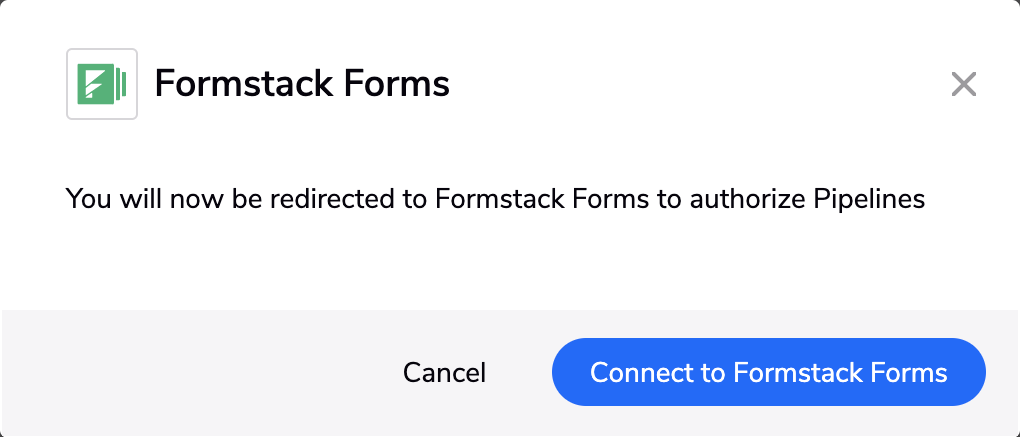
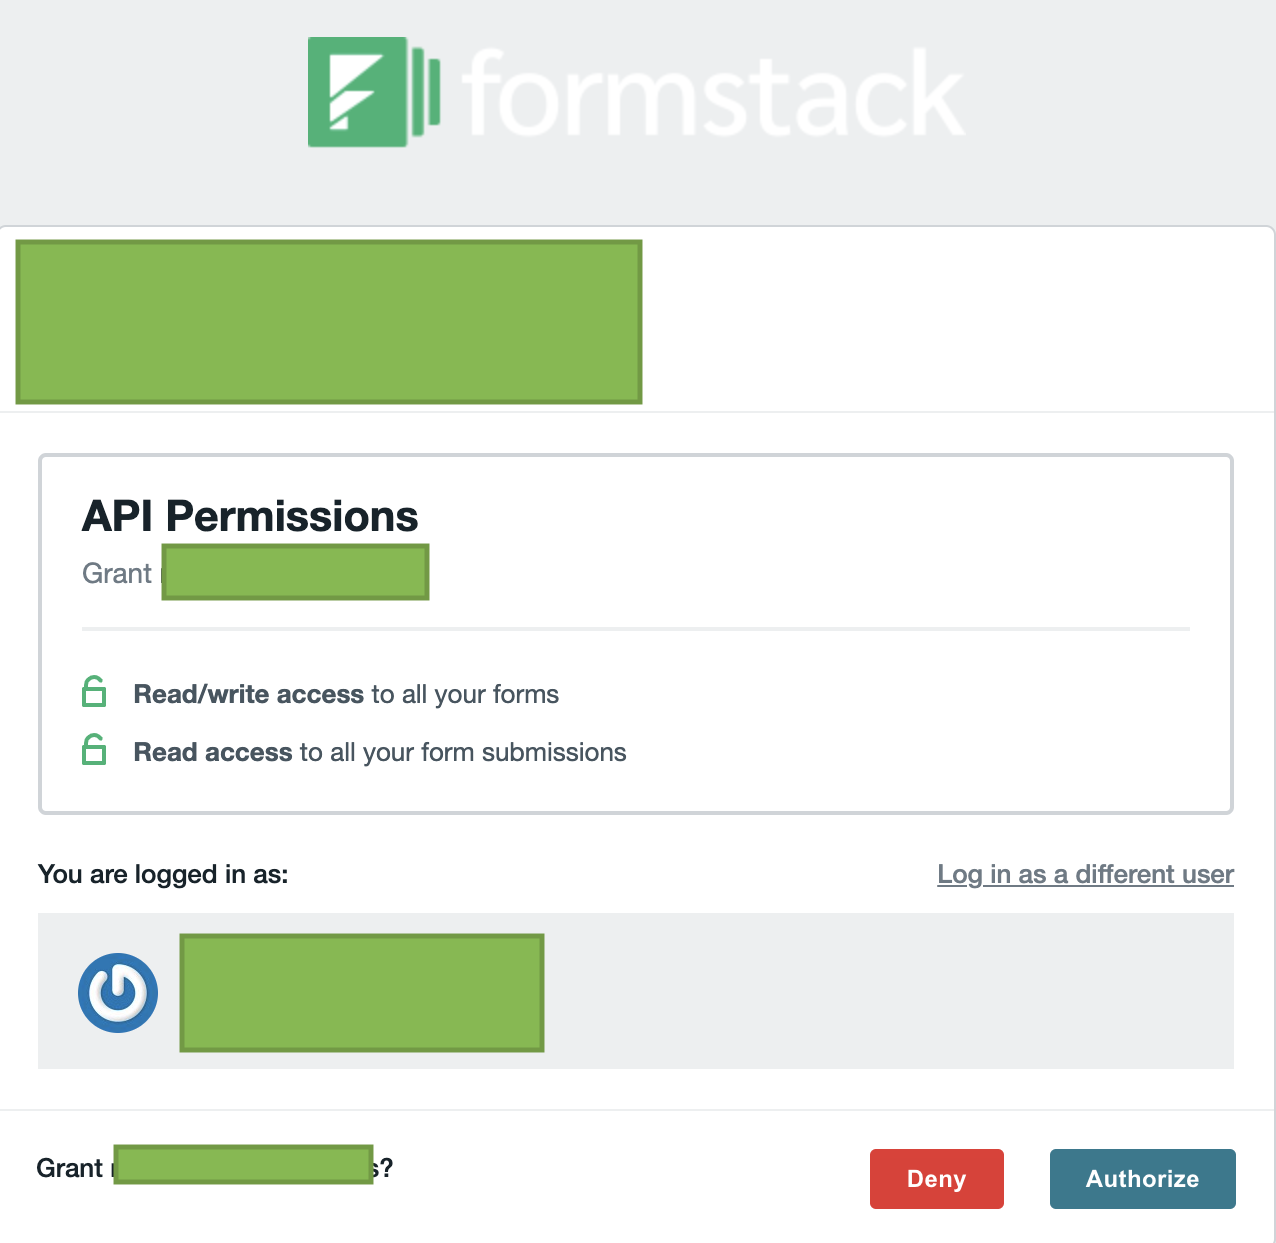
- After that you will be redirected to the authorization page for the channel:

- After the login you have to click on the Authorize option and complete the whole process.
How to reconnect the Formstack channel
You may need to reconnect your account to a channel. Reasons may be (but not limited to):
-
If you need to connect a different account.
-
Authorization updates, such as a changed password.
-
Editing the access rights that Pipelines has to the channel.
To reconnect:
- Select a pipeline that already has Formstack Forms in it.
- Open a step containing Formstack Forms.
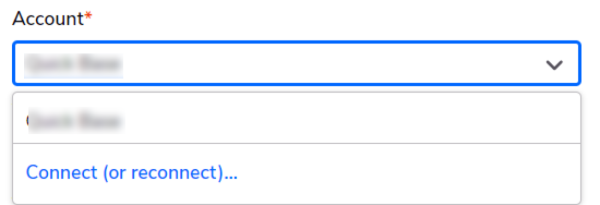
- Under account, select Connect (or reconnect) and follow the process above, How to connect.
Limits
To prevent abuse, the Formstack API is rate limited to 14,400 calls per access token per day.
You can find more details about the Account Limits in Formstack Forms here Account Limits.
Steps
The steps you can use with Formstack fall into a single category: Submission
| Type | Name | Description |
|---|---|---|
| Submissions | ||
| Action | Look Up a Submission | Searches for submissions associated with the selected form by submission id. There are no limits to the number submissions returned. |
| Query | Search Submissions | Lists all submissions associated with the selected form that fit your criteria. |
| Trigger | Submission Created | Triggers when a Submission is created in the associated form. |
Use Cases
Here are some use case example to help you understand how to use the Formstack Form channel.
Automatically update or insert (upsert) information from a Formstack Form, into records in a Quickbase application
Let’s say you have a Formstack Form you use to gather job application information. It would be convenient to store the names of the applicants somewhere - for example in Quickbase table. In the following example we will show you step by step how to create a pipeline that can do this.
-
First you must create a Quickbase application that has a table containing records with First name and Last name as text fields.
-
Create a new pipeline and connect to your Formstack Forms and Quickbase profiles.
-
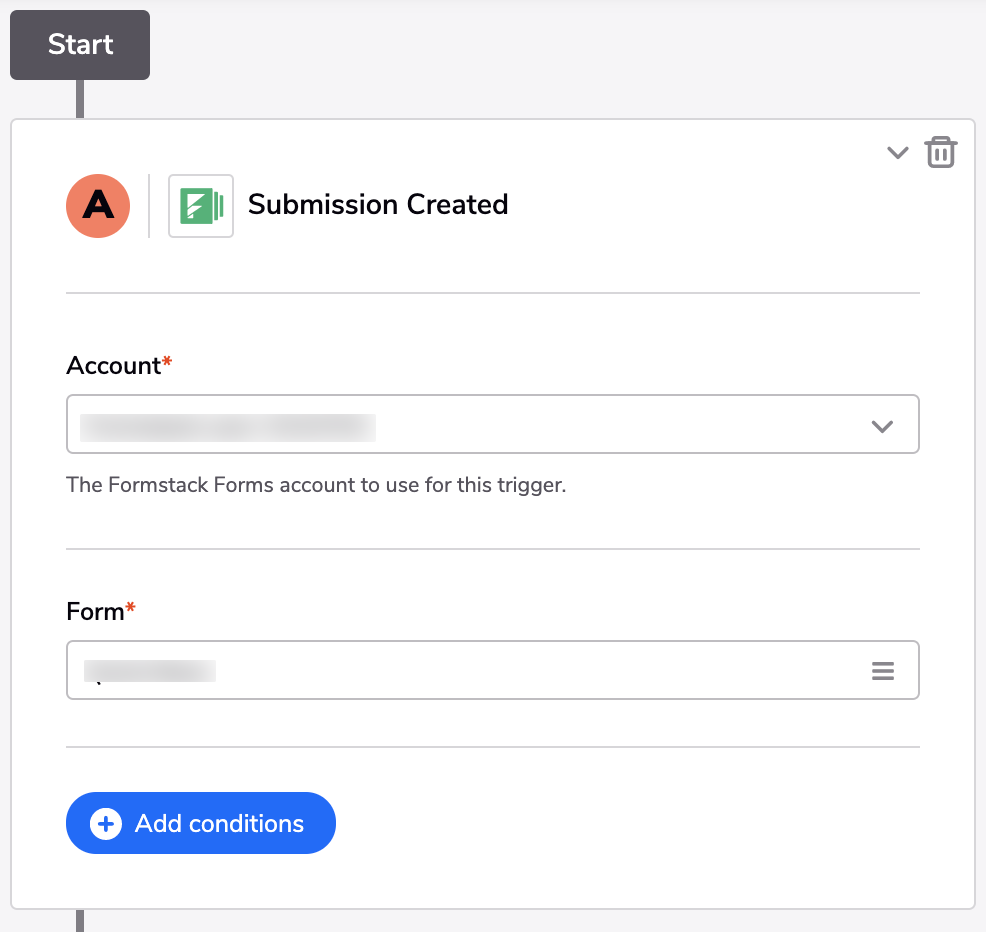
The first step to be added is Submission Created from Formstack Forms. This step would trigger whenever someone fills in the Formstack Form.
-
The second step to be added is Search Records from the Quickbase channel. Fill in the required information and add conditions to search by First name and Last name, which are taken from the trigger step.
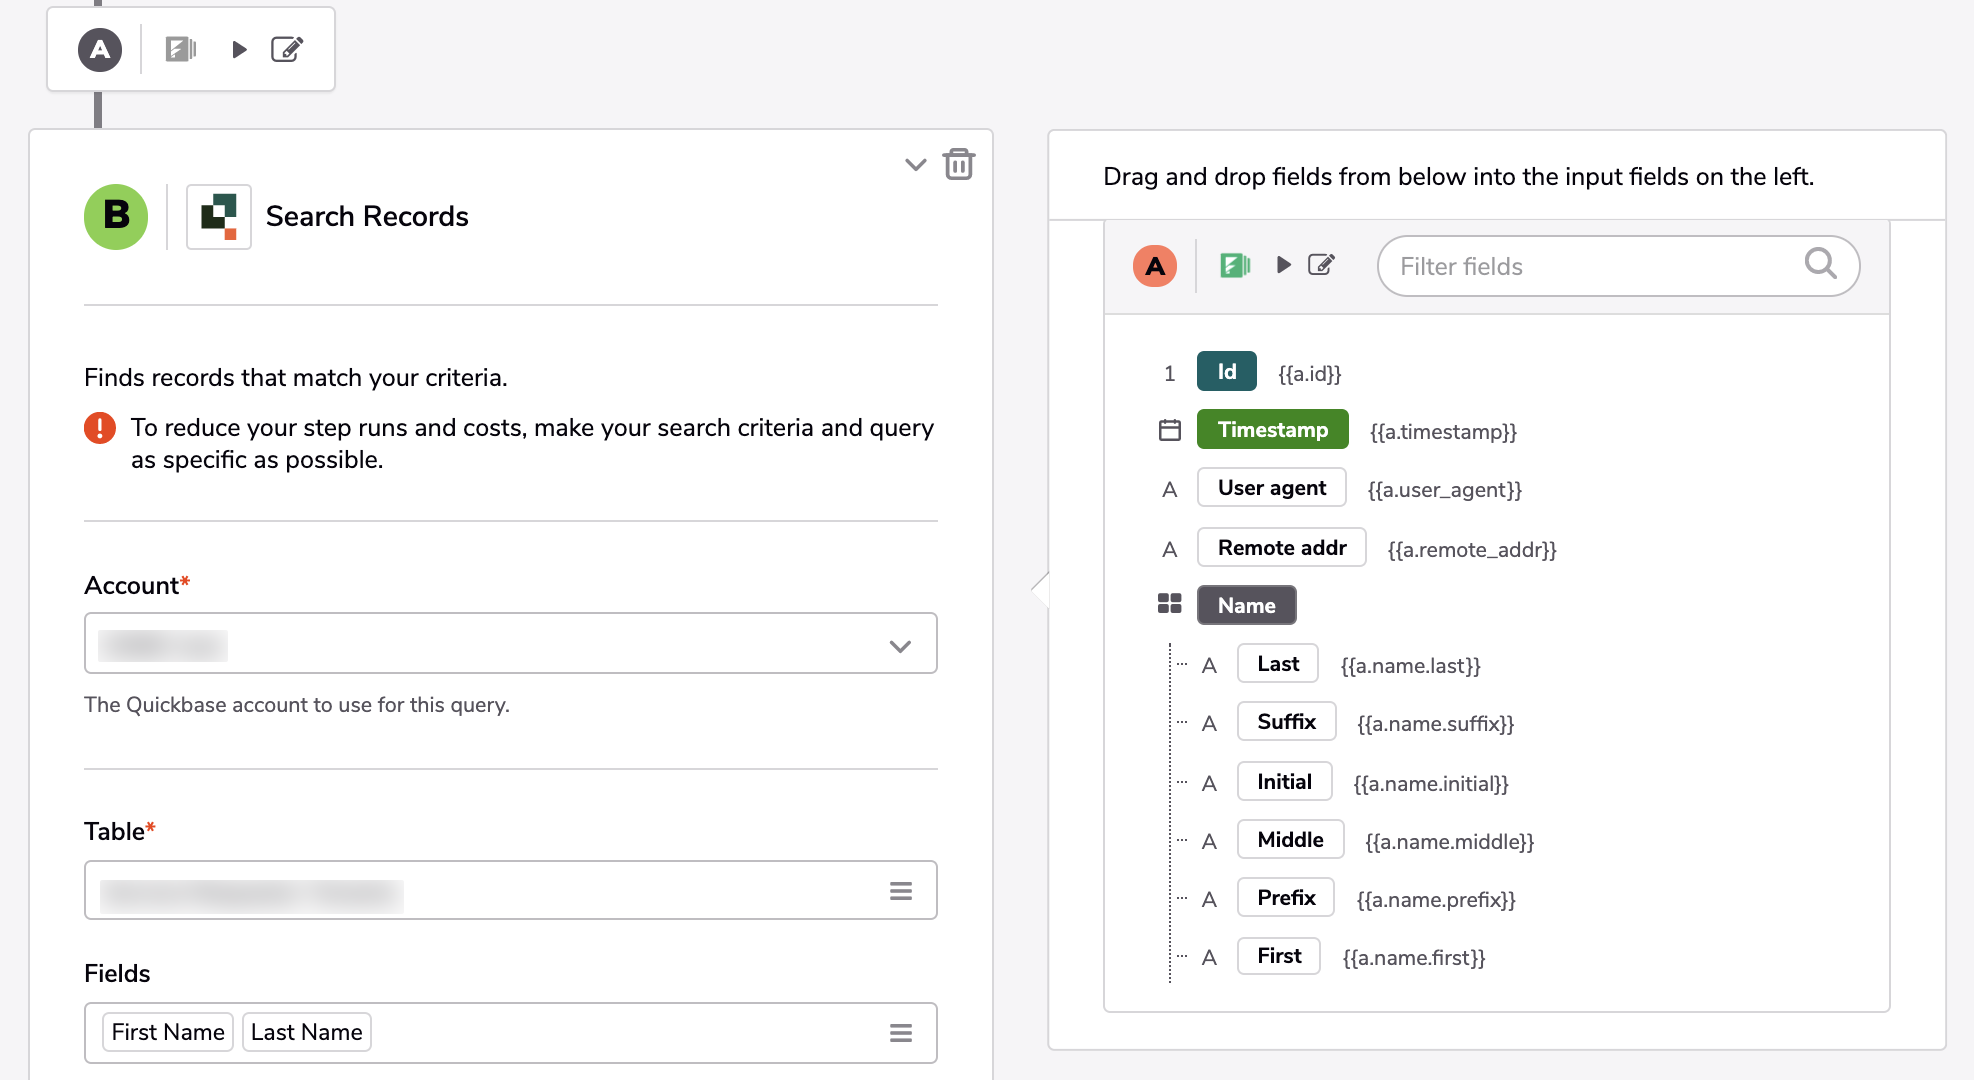
-
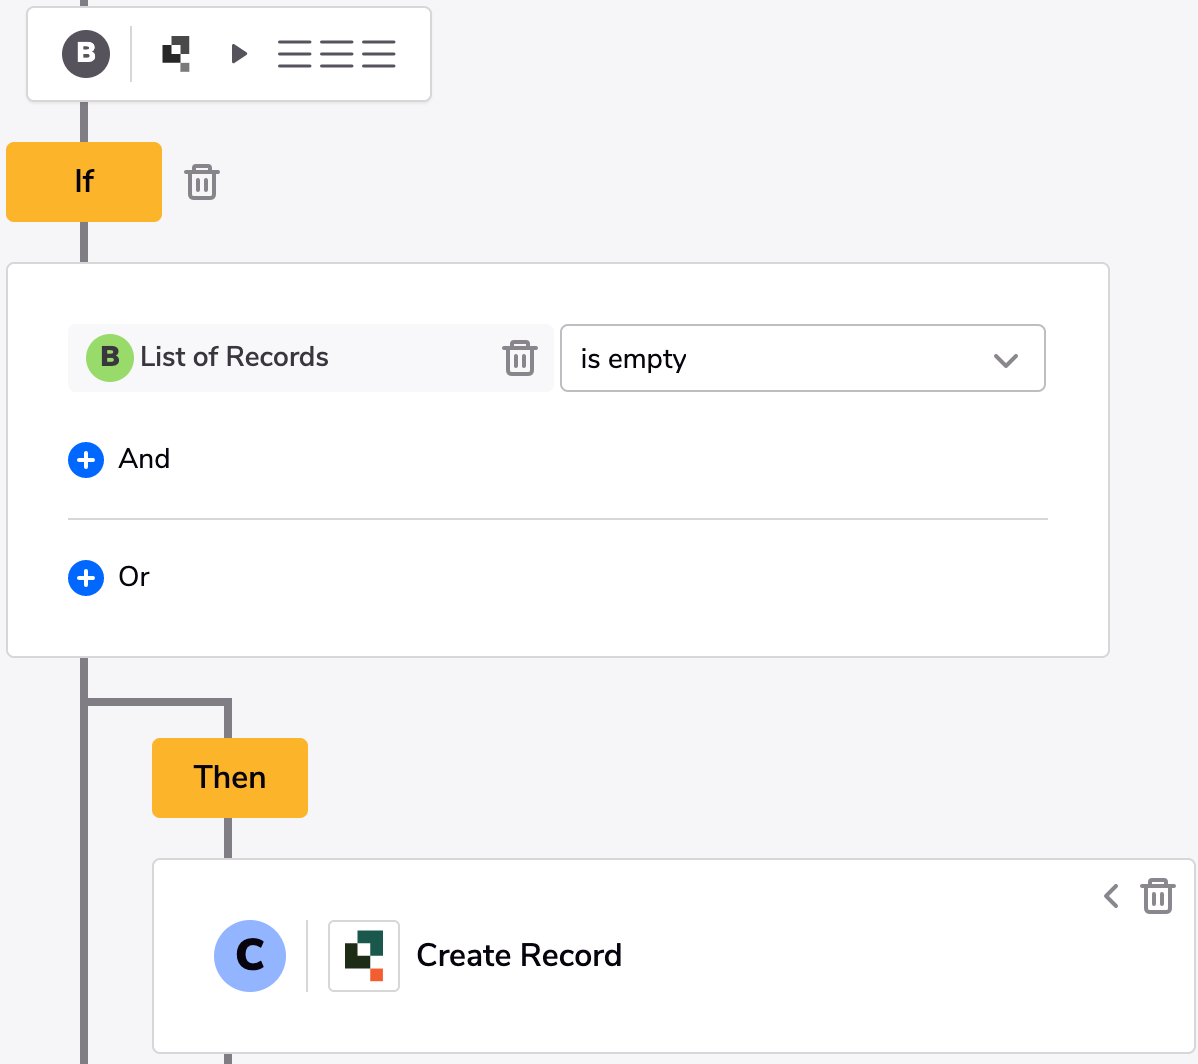
Click Insert a Condition to add an IF statement to check whether the search step has returned an empty list. If the list is empty, then add a new Create Record step from Quickbase and fill in the information about First name and Last name from the trigger step. If the list is not empty (the Else clause) add a new Update Record step from Quickbase and fill in the information.
Automatically upload files received via a Formstack Form, into a Dropbox folder
We have a Formstack Form which accepts a file. It would be convenient to store the received files somewhere - for example in DropBox. In the following example we will show you step by step how to create the pipeline.
-
First you have to Look Up a Submission by its Id.
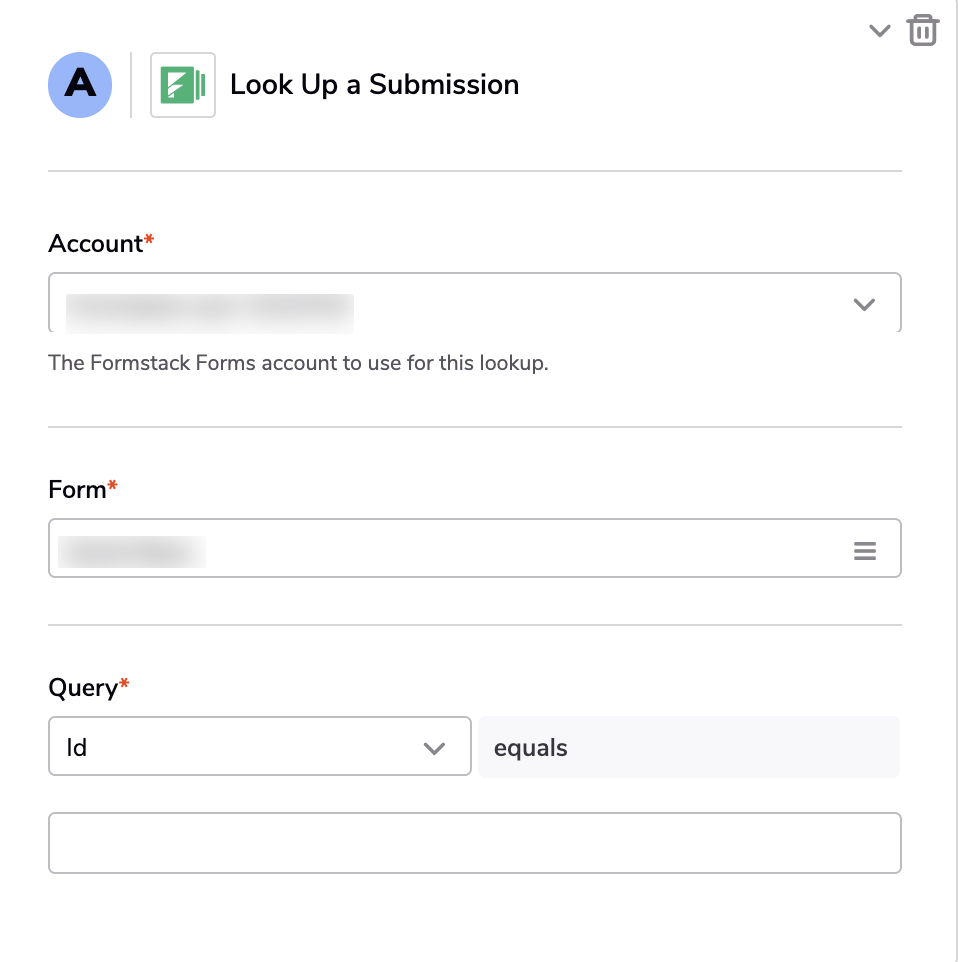
-
If it is a valid one, you are ready for the next step.
-
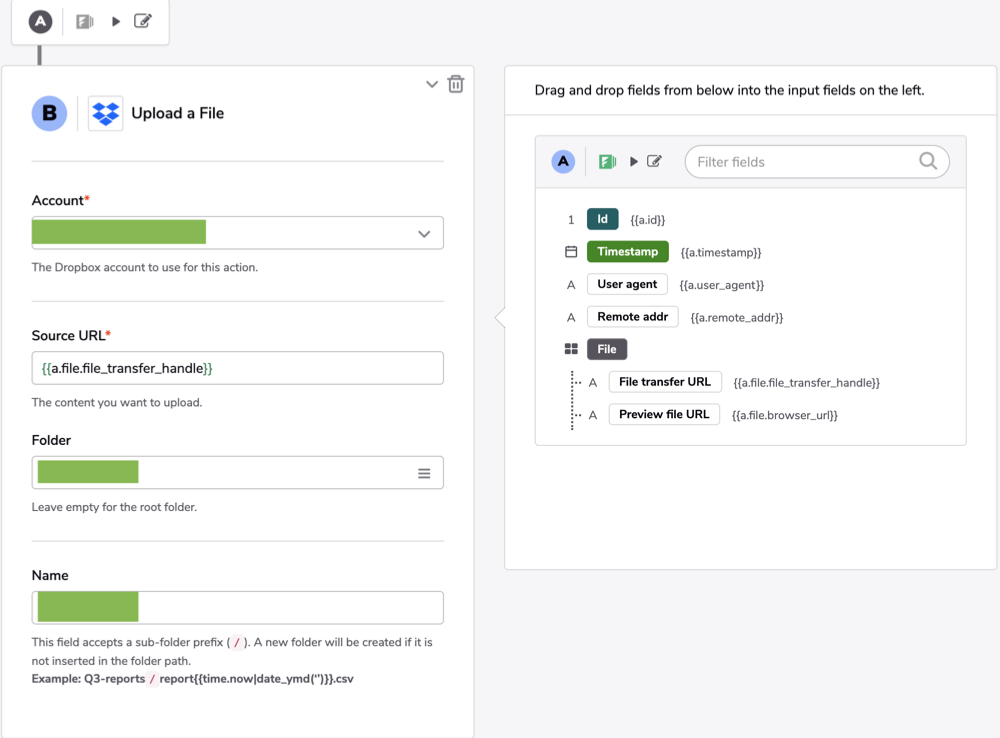
Drag and drop the Upload a File step from the Dropbox channel.
-
After that you drag and drop the File transfer URL from the field list on the right to Source URL field on the left (The File transfer URL field is used to redirect the image file to DropBox).
-
If you want to transfer the file in certain folder in your DropBox you can choose it from the options menu Folder.
-
The Name field is required and it should be filled with the name of the file and its proper extension.
-