Deleting a field
Before you delete an app field, be absolutely sure that you won't need the field or any data it contains.
Important: When you delete a field, Quickbase also deletes all the data in the field, which can’t be recovered. The field is also automatically removed from forms and reports.
Tip: If you must delete a field, you should understand the impact of the deletion. A good first step is to discover all the places that your app references a particular field. Quickbase shows you this information on the Usage page (mentioned in step 3 below).
To delete a field
You can delete fields using either field settings or Visual Builder.
Using field settings to delete fields
-
Open the table that contains the field that you want to delete.
-
Click Settings, click Fields, then locate the field you want to delete.
-
Optionally, check the usage of this field:
Hover the mouse over the field name, then click Where is this field used? in the popup that appears.
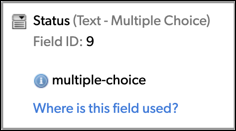
The Usage page displays a list of the places where your app references this field. If you don't want to delete this field now, click Cancel to return to the Fields list.
-
Complete one of the following tasks:
-
To delete more than one field, select the checkbox next to the name of each field that you want to delete, then click
 Delete at the top of the table.
 -
To delete a single field, click the delete icon (
), to the right of the field that you want to delete.
-
-
Click Delete to confirm the deletion.
Using Visual Builder to delete fields
-
Open a table, click Settings, then click Structure. Visual Builder opens with the table expanded.
-
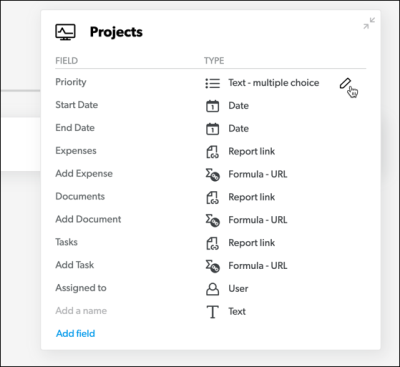
Hover on the field, then click the edit icon:
-
Click the delete icon:
-
A confirmation dialog appears. Click the Delete button to finish deleting the field.
-
All changes are saved automatically.
