Activating and deactivating a sandbox
To create and use a sandbox, first an app admin must activate the feature in App Properties.
Note: This feature is available for specific plans. Check the Quickbase Pricing page for a comparison.
Activating a sandbox
-
Open the app for which you want to activate a sandbox.
-
Select Settings, and then select App Properties.
-
In the Advanced Settings section, select the Enable change management through a dedicated sandbox check box.
-
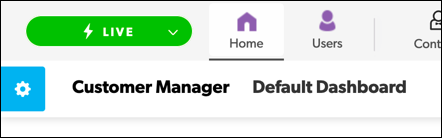
Select Save. On the app table bar, a button appears labeling the live app. This button includes a drop down menu where you will manage a sandbox for the app.
Note: "Live" describes the app currently in use. When you click on the arrow, you will see available sandboxes listed. Read Using a sandbox to learn more.
Note:Apps that have a sandbox activated are only listed once on your My apps page. You open the app and switch between the live app and a sandbox, rather than having a sandbox listed separately on My apps.
Deactivating a sandbox
If you decide not to use a sandbox to manage changes, you can deactivate the feature entirely:
-
Open the live app for which you want to deactivate (turn off) the sandbox feature.
-
Click the Live button, and then select Disable sandbox feature.
-
In the confirmation dialog, click the Yes, Disable button. This will deactivate the feature and delete any sandbox you have started.
