Choosing table icons
Each table in the table bar displays an icon and the table's name. When you choose an app from Quickbase Exchange, or if you use the Build from a template option, the icons and table names are already assigned to each table, however, if you create tables yourself, or you want to change an existing table's icon, you can choose an icon to represent the table.
To choose a table icon while creating a table
You can choose a table icon using the New Table dialog or Visual Builder.
Using the New Table dialog to choose a table icon
-
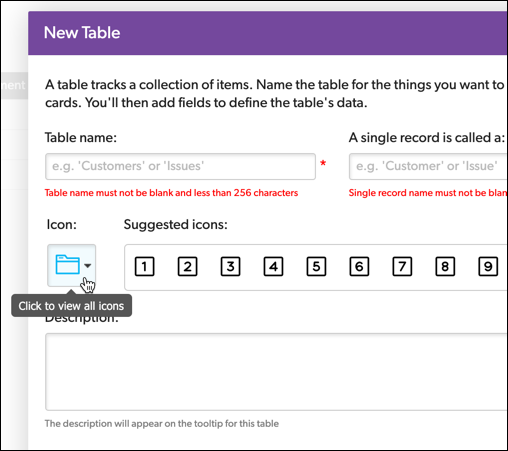
When you create a table, click the Icon field:

-
The Choose an Icon dialog displays. Each icon is associated with a set of keywords, which appear in a tool tip when you hover over each icon.
-
If you want, type a keyword into the Search icons field to filter the list of icons.
-
Click to choose a new icon and return to the New Table dialog. The icon you chose appears in the Icon field.
Using the Visual Builder to choose a table icon
When using Visual Builder to drag and drop new tables into your app, you can choose a new icon using the Table properties on the left:
![]()
All changes are saved automatically.
To change or assign a table icon
You can change a table icon using table settings or Visual Builder.
Using the table settings to change a table icon
There are two places in table settings where you can change a table icon.
Open table settings, then click the Icon field at the top left of the page. Choose a new icon, then click the Save Changes button.
![]()
Or, open table settings, then click Advanced settings. In the Table and Record Names section, click the Table icon field. Choose a new icon, then click the Save button in the top right of the page.
![]()
Using Visual Builder to change a table icon
-
Open a table, click Settings, then click Structure. Visual Builder opens with the table expanded.
-
Choose a new icon using the Table properties on the left:

- All changes are saved automatically.
